This week it's all about the decor. I did most, if not all of it, myself with the help of my friends and mom.
The cake. My mom's friend is a cake decorator, so we had her make a two-tiered seafoam green cake for us to share amongst the wedding party and keep for our anniversary. Each tier had clear rock candy as the edging, which made it oh so wintry.

We got the adorable wood cake banner from baumbirdy. It turned out fabulous, and we even used it for our second reception this summer.
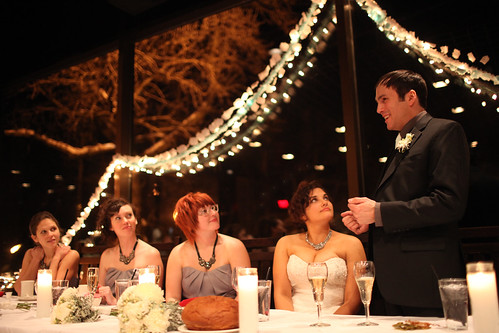
Decorations. To me, decorations weren't a big deal. The venue we got married in was already so beautiful, with gorgeous woodwork and giant windows overlooking the river and trees.


We made a little "archway" on the windows for the ceremony area. I strung different colors, sizes and shapes of tissue paper on clear wire, securing it every foot or so with a dot of hot glue. I found some cute vintage-looking Christmas lights and wrapped the tissue garland around it. For as little effort as it took and as cheap as it was to make, I think it turned out pretty magical looking.

My favorite decorations were the faux snowglobes that stretched down the middle of the tables along with tall pitchers of "snow covered" branches.
My bff Cristen and I made these in one afternoon. Here's what you need:
Glass bowls from a craft store (We got two different sizes)
The bottom trays for terracotta flower pots
Spray paint
Faux trees (or little woodland creatures would be adorable)
Hot glue
Tiny foam ball snow. We found it worked best because it was full of static and stuck to the trees)
Tinsel piping
1. Spray paint the terracotta bottoms whatever color you want for the base.
2. Hot glue the trees on the base.
3. Turn the globe so the open part is face up and put a few tablespoons of "snow" inside.
4. Spread hotglue on the lip of the globe opening and secure the base (with trees attached) to it.
5. Hot glue the tinsel around the top of the base where it meets the globe to hid some of the other glue.
And voila, super easy, no-water-required snow globes.

We also spread different sizes and shapes of white candles all over the room. It gave a nice glowy look.

This was my throwing bouquet.
One of my regrets is that I didn't get more photos of the flowers. They turned out so beautiful. We went with a white and muted green color palette. Again, flowers weren't something I wanted everywhere because part of me felt really wasteful getting a boatload of flowers in Minnesota in January.
your wedding freaking rocked!
ReplyDeleteThanks, Jess. Have you ever done a wedding post? I know you and Josh have been married for a long time, but it'd be cool to see.
ReplyDeletewe actually got married at the justice of the peace! and the pictures aren't that great... i think i have posted them before though?
ReplyDeleteBeautiful!
ReplyDeleteThanks for stopping!
ReplyDeleteSimply gorgeous! I am also looking for one of the wedding venues Los Angeles like this, which looks beautiful with the lights on at night. Also, the bride here looks very beautiful. I thoroughly enjoyed going through this post.
ReplyDelete